


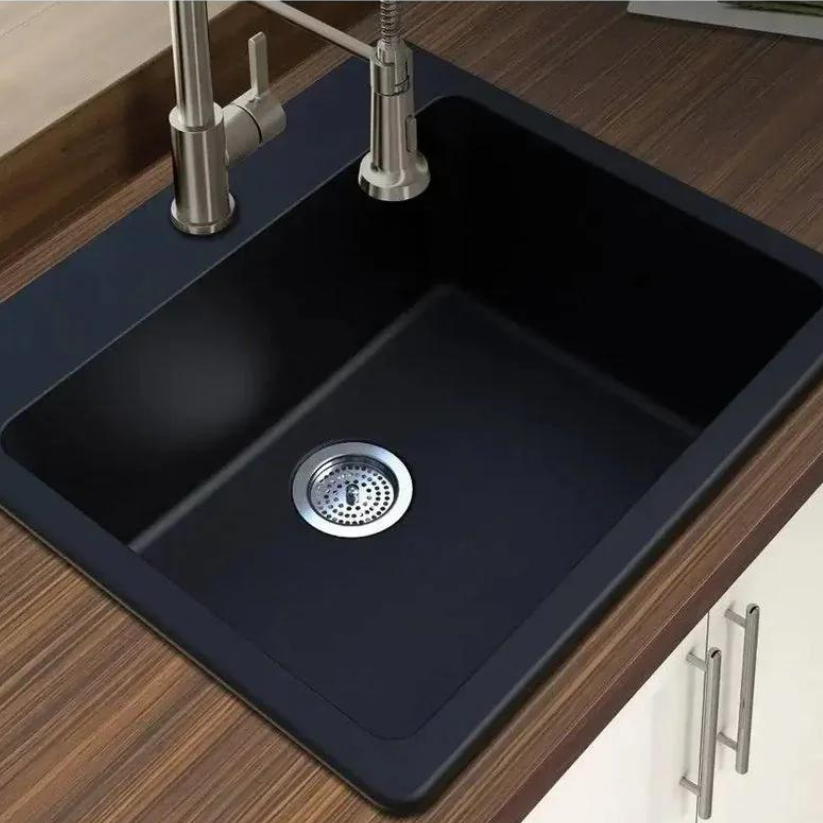


A round porcelain sink adds timeless elegance and functionality to any bathroom. Renowned for its durability and classic charm, its glossy white finish enhances any space's aesthetic. This comprehensive guide delves into selecting the perfect sink, expert tips for a seamless installation, and essential maintenance practices to preserve its beauty and functionality, ensuring your bathroom exudes style and practicality for years to come.
Benefits of a Round Porcelain Sink
1. Aesthetic Appeal
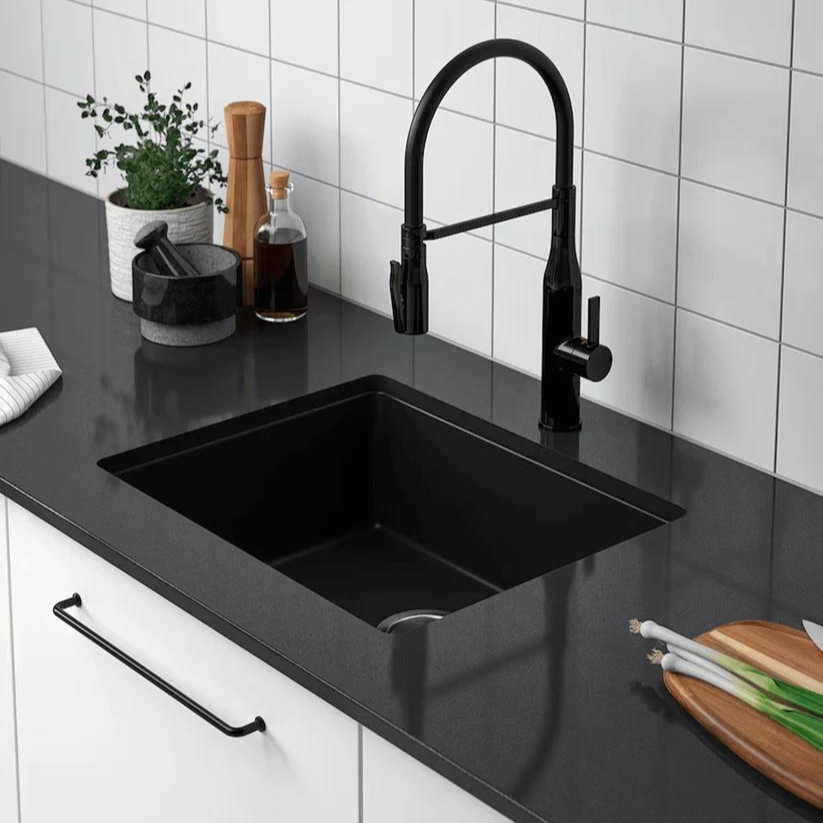
Round porcelain sinks offer a sleek and sophisticated look that can complement a variety of bathroom styles, from modern to traditional. The smooth, glossy finish adds a touch of luxury to any space.
2. Durability
Porcelain is known for its strength and resistance to wear and tear. It is less likely to crack or chip compared to other materials, ensuring that your sink remains in excellent condition for many years.
3. Ease of Cleaning
The non-porous surface of a porcelain sink makes it highly resistant to stains and easy to clean. A simple wipe with a damp cloth and mild detergent is usually sufficient to maintain its shine.
Choosing the Right Round Porcelain Sink
1. Size and Dimensions
When selecting a round porcelain sink, consider the dimensions of your vanity and the available space. Common sizes include a diameter of 16 1/2 inches and a height of 5 1/2 inches, but make sure to measure your space to ensure a proper fit.
2. Installation Type
There are several installation options for round porcelain sinks:
- Top-Mount Sinks: These are installed from above the countertop, with the rim sitting on top.
- Undermount Sinks: These are installed from below the countertop, providing a seamless look.
- Wall-Mounted Sinks: These are attached directly to the wall, saving counter space.
3. Faucet Compatibility
Ensure that the sink you choose is compatible with your faucet setup. Some sinks come with pre-drilled holes, while others require custom drilling. Consider the height and reach of the faucet to ensure it works well with the sink's depth and shape.
Installation Guide
1. Tools and Materials Needed
-
Round porcelain sink
-
Faucet and plumbing fixtures
-
Silicone sealant
-
Pipe wrench
-
Plumber’s tape
-
Screwdriver
-
Measuring tape
-
Level
-
Adjustable wrench
2. Preparation
Begin by turning off the water supply to avoid any spills or leaks during installation. Clear the area and gather all necessary tools and materials.
3. Installing a Top-Mount Sink
a. Cut the Hole (if necessary)If your countertop does not already have a hole for the sink, you will need to cut one. Use a template to mark the sink’s outline on the countertop and cut along the line with a jigsaw.
b. Apply Silicone SealantApply a bead of silicone sealant around the edge of the sink cutout to prevent water from seeping underneath the sink.
c. Place the SinkCarefully place the sink into the cutout, pressing down to ensure a good seal with the silicone. Make sure the sink is level before the sealant dries.
d. Install the Faucet and DrainFollow the manufacturer’s instructions to install the faucet and drain. Use plumber’s tape on the threaded connections to prevent leaks.
4. Installing an Undermount Sink
a. Attach Mounting ClipsInstall the mounting clips underneath the countertop according to the sink manufacturer’s instructions.
b. Apply Silicone SealantApply a bead of silicone sealant around the edge of the sink’s flange.
c. Position the SinkCarefully position the sink under the countertop cutout and secure it with the mounting clips. Ensure the sink is level and adjust the clips as needed.
d. Install the Faucet and DrainInstall the faucet and drain as per the manufacturer’s guidelines, using plumber’s tape on all threaded connections.
Maintenance Tips
1. Regular Cleaning
To maintain the shine of your porcelain sink, clean it regularly with a mild detergent and a soft cloth. Avoid using abrasive cleaners that could scratch the surface.
2. Preventing Stains
While porcelain is highly resistant to stains, it is best to wipe up any spills promptly. Avoid leaving standing water, as it can lead to mineral deposits.
3. Dealing with Scratches
If your sink develops minor scratches, you can often buff them out with a gentle polishing compound designed for porcelain. For deeper scratches, consider professional refinishing.