
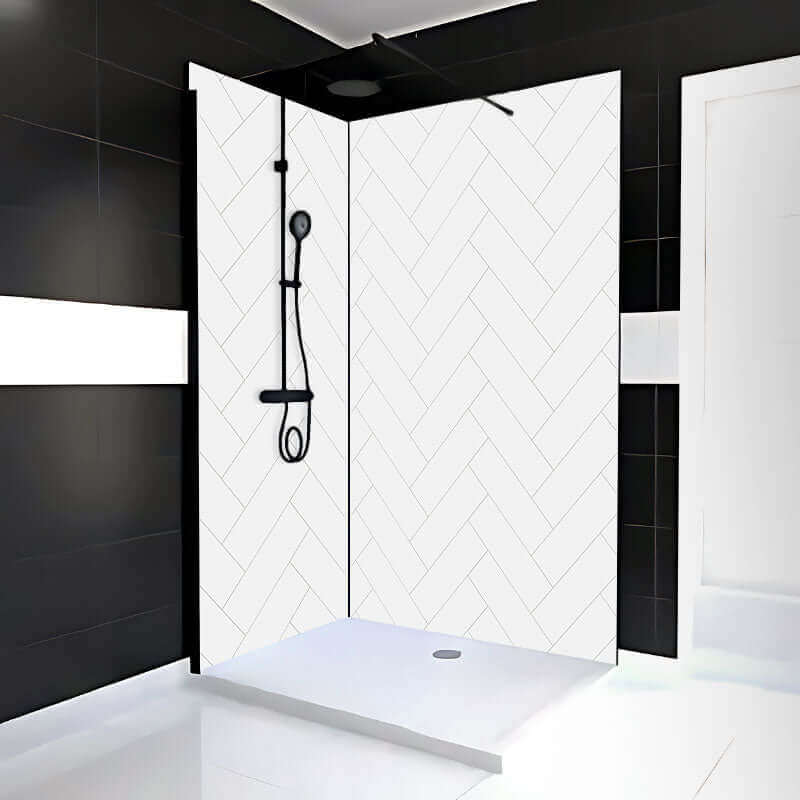


Revamping your bathroom with ceramic tiles not only boosts its visual charm but also enhances functionality. This detailed guide provides step-by-step instructions for a flawless installation process. From choosing the perfect tiles to mastering cutting techniques and proper adhesive application, we offer practical tips and expert advice. Follow this guide to achieve a stunning and durable transformation, ensuring your bathroom remains stylish and functional for years to come.
Tools and Materials Needed
Before beginning your ceramic tile installation, gather the following tools and materials:
- Ceramic tiles
- Tile adhesive
- Grout
- Tile spacers
- Notched trowel
- Tile cutter or wet saw
- Level
- Tape measure
- Pencil
- Rubber float
- Sponge
- Buckets
- Safety goggles and gloves
Preparing the Surface
1. Clean and Level the Surface
Ensure the surface where you will install the tiles is clean, dry, and level. Remove any old tiles, paint, or wallpaper. Repair any holes or cracks with a suitable filler. For uneven surfaces, consider using a self-leveling compound.
2. Apply a Waterproof Membrane
In areas prone to moisture, such as a bathroom, applying a waterproof membrane is crucial. This membrane will prevent water from seeping into the subfloor, which could cause damage over time.
Planning the Layout
1. Measure the Area
Accurately measure the area to determine the number of tiles needed. Account for cuts and waste by adding an additional 10% to your total tile count.
2. Dry Layout
Lay out the tiles on the floor without adhesive to see how they fit. This step helps you determine the best starting point and ensures that you won't end up with small, difficult-to-cut tiles at the edges.
3. Mark Guidelines
Using a chalk line or a pencil, mark straight guidelines on the floor to help you align the tiles correctly. Start from the center of the room and work your way out to ensure a balanced look.
Installing the Tiles
1. Mix the Tile Adhesive
Follow the manufacturer's instructions to mix the tile adhesive. Only mix as much as you can use within 30 minutes to prevent it from drying out.
2. Apply the Adhesive
Using a notched trowel, spread the adhesive on the floor, covering a small section at a time. Hold the trowel at a 45-degree angle to create ridges in the adhesive, which will help the tiles adhere better.
3. Lay the Tiles
Place the first tile at the intersection of your guidelines. Press it firmly into the adhesive, twisting slightly to ensure good contact. Use tile spacers between each tile to maintain even grout lines. Continue laying tiles, working in small sections.
4. Cut Tiles to Fit
When you reach the edges of the room or obstacles like fixtures, you'll need to cut the tiles to fit. Use a tile cutter for straight cuts and a wet saw for curved or intricate cuts. Always wear safety goggles and gloves when cutting tiles.
5. Allow Adhesive to Set
Let the adhesive cure for at least 24 hours before walking on the tiles or proceeding to the grouting stage.
Grouting the Tiles
1. Mix the Grout
Mix the grout according to the manufacturer's instructions. The consistency should be similar to peanut butter.
2. Apply the Grout
Using a rubber float, spread the grout over the tiles, pressing it into the gaps between them. Hold the float at a 45-degree angle and work diagonally across the tiles to ensure even coverage.
3. Clean Excess Grout
After about 15-30 minutes, wipe off excess grout from the tile surfaces with a damp sponge. Rinse the sponge frequently and avoid removing grout from the joints.
4. Final Cleaning and Sealing
Once the grout has cured (typically after 24 hours), clean the tiles with a damp cloth to remove any haze. After 72 hours, apply a grout sealer to protect the grout from stains and moisture.
Maintenance Tips
1. Regular Cleaning
Keep your ceramic tiles looking new by regularly cleaning them with a mild detergent and water. Avoid using harsh chemicals that could damage the tiles or grout.
2. Inspect and Repair
Periodically inspect the grout lines for any signs of cracking or damage. Repair any issues promptly to prevent water from seeping behind the tiles.
3. Reapply Sealer
To maintain the integrity of the grout, reapply grout sealer every 6-12 months, especially in high-moisture areas.